

What Kind Of Glue Should Be Used To Repair A Taillight

By Tsukasa Azuma
Last updated Aug 13, 2022
0 comments
Yous tin readily replace faulty taillights, but, if you have plenty time at hand, and then tail light repair would practise. Depending on the course of repair yous cull, tail light repair is relatively easy and quick. Even so, if the damage is meaning, there is no other way but replacing the taillights. You can, even so, mend whatsoever chips and cracks. If you drive a archetype or older model, it is more important for you to know how to perform a tail low-cal repair. Cleaved or cracked taillights brand driving risky, and could be field of study to fine for traffic rule violation.
Something Well-nigh Tail light You lot Should Know
The tail light of any motorized vehicle is required to be in the cherry color to distinguish from the headlight in the forepart. With this way, it is always observed clearly for drivers whether the vehicle is moving or turning away from whatsoever sides.
The tail lite of the car can be easily repaired by replacing a new ane. Still, in many cases, the tail calorie-free tin can withal exist utilized and repaired. This volition relieve time also as the unreasonable costs of the car owner, especially in some cases that the lite belongs to the classic or rare car line.
The type of repair needed for the tail low-cal depends on the severity of the damage and the shape of the broken part. Allow's take a look at the specific repair steps below to fulfill your trouble while thiscracked tail low-cal repair situation appears.
Tail light repair: Step by stride
Here beneath are iv steps to repair tail light if the question: How to fix a broken tail light? raise upward. Read on to acquire how to set up a broken tail light at home.
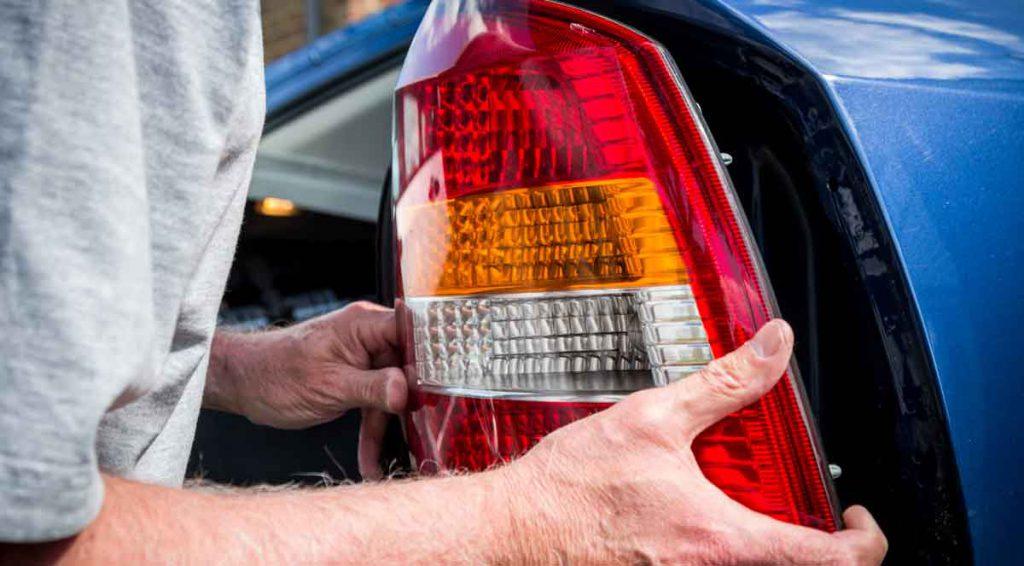
Step one: Removing the function you lot want to fix
Commencement by removing the part y'all want to fix. Now take your repair kit and discard the plastic film. Now apply the film on whatever crack or hole. The moving picture works on a polish surface, just. If the interior is rather bumpy or crude, use a cellophane tape.
Stride 2: Making chemical mixture
A tail light lens repair kit usually has a material inside to mend the impairment. To activate the chemical process, you need to alloy the ingredients, like an epoxy. After the mixture is complete you have to apply it in the soonest to make sure its effectiveness has not gone away. However, at any situation, you lot don't have to panic, since you will get enough time to use the mixture. Follow the pedagogy in the tail light lens repair kit.
SEE MORE:
- Steps to clean intake manifold without removing
- Reasons why your machine is making tire dissonance after rotation
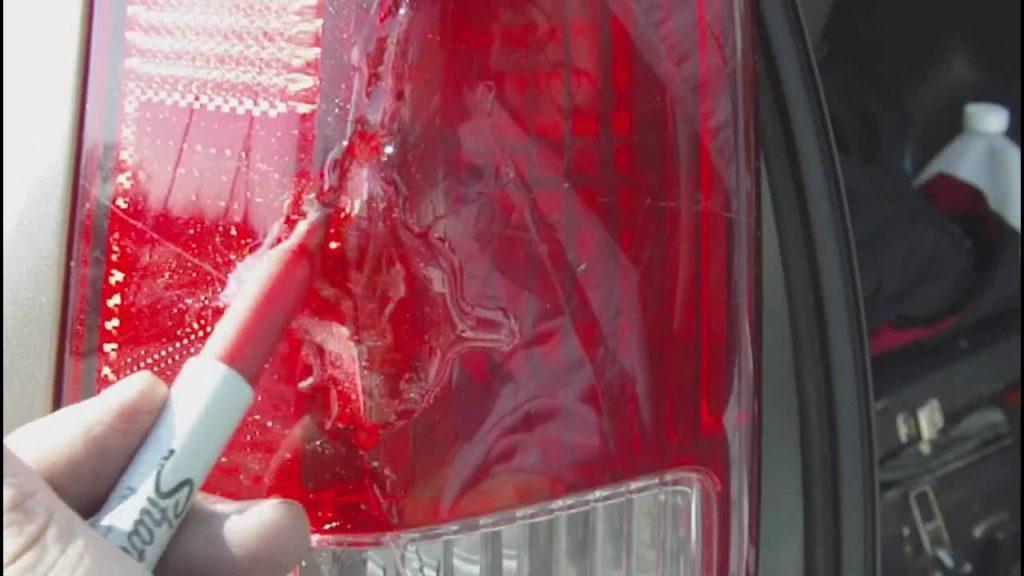
Step 3: Applying the chemical mixture into the fixed expanse
Use the syringe inside to utilize the chemical compound. While applying, make sure you lot are not going beyond the area to embrace. Small repairs should not have more than a few drops. Yous demand to put the compound carefully, since it is hard to remove.
Stride 4: Permit the fixed surface area dry then re-install the tail light
Once you are washed applying the cloth, wait for it to dry up. As it dries, it volition appear darker than the rest of the drinking glass. Later a certain period, when y'all are sure that the material is completely dry, re-install the taillight.
Check out this video beneath for more details:
>> If you already have your heart on a specific automobile, visit our website to buy and sell cars from Japan.
Hopefully this commodity volition be useful for you lot. In the adjacent manufactures, we will show you many car maintenance tips so don't forget to follow usa on Machine FROM Nippon to catch up with our interesting topics.

Source: https://carfromjapan.com/article/car-maintenance/guideline-tail-light-repair/
Posted by: blakelivelyins.blogspot.com
0 Response to "What Kind Of Glue Should Be Used To Repair A Taillight"
Post a Comment